Installing plugins is a great way to increase the functionality of your site. It’s also very easy, once you get the hang of it.
WordPress plugins can be installed in several ways.
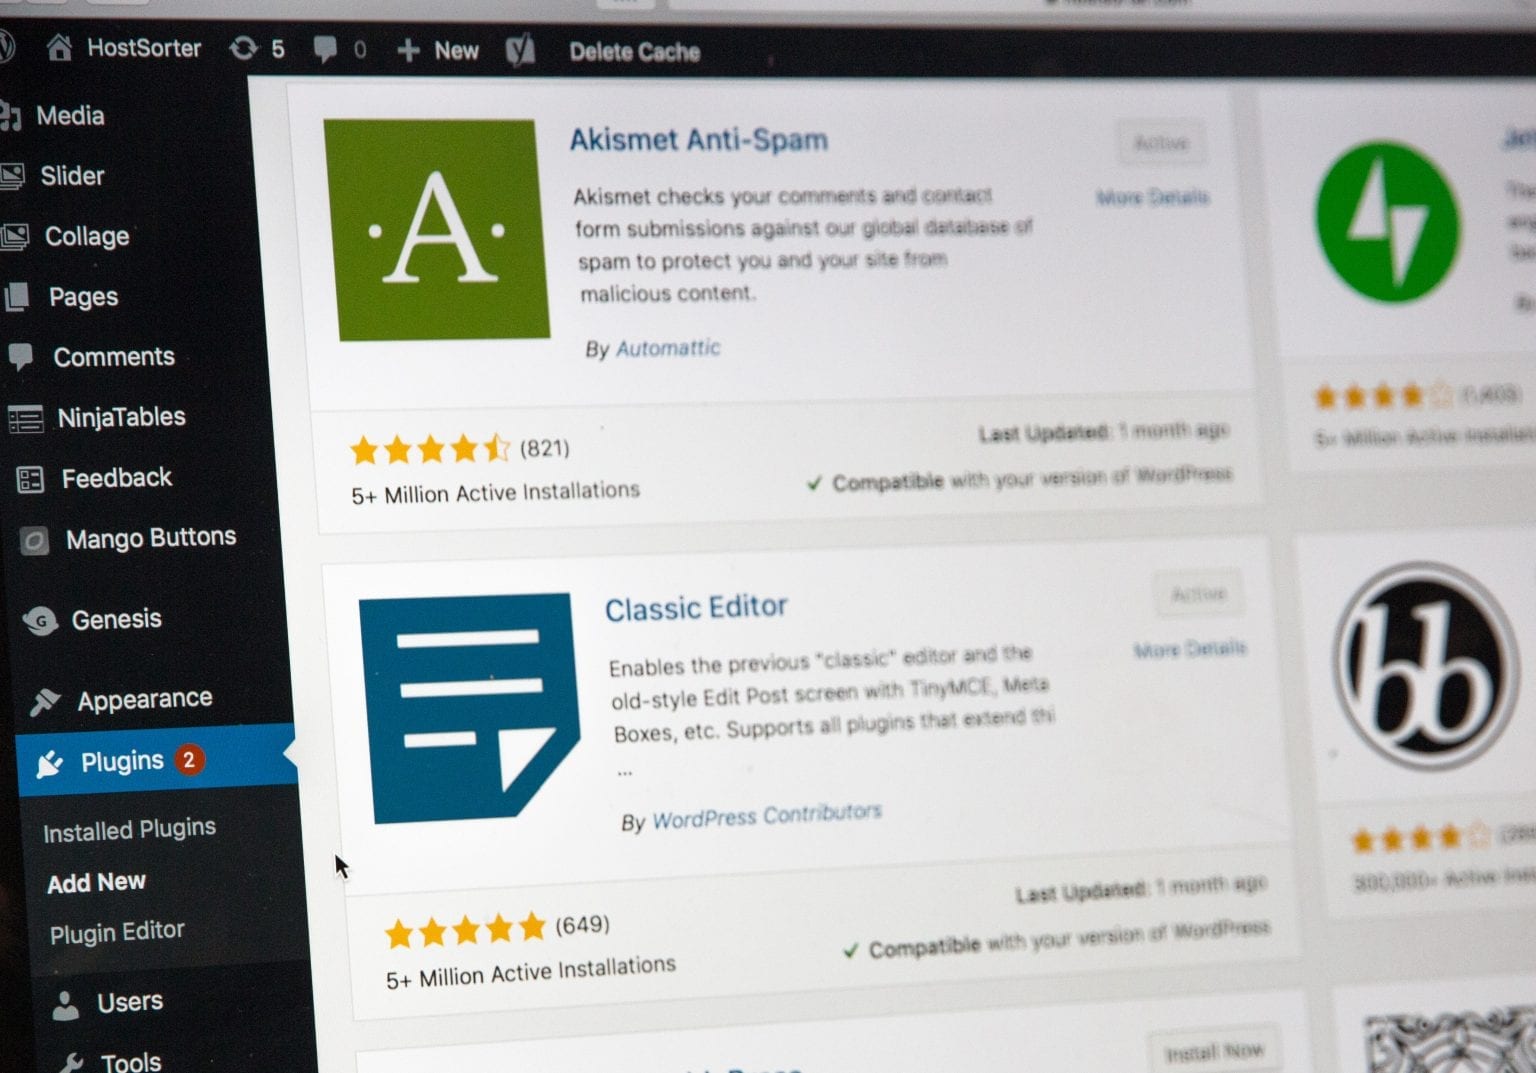
Free plugins from the official WordPress repository can be installed via the Plugins > Add New tab of your wp-admin area.
Plugins can also be installed via FTP with a client like FileZilla (more on that below).
Tips when installing new plugins
While there are thousands of WordPress plugins many of these don’t work on WordPress Multisite sites and may have compatibility issues with Multisites or the theme you are using.
Make sure you check the plugin’s compatibility information before installing it. The plugin may not have been updated for the version of WordPress you are using.
Always activate your new theme on a test site, without any other plugins activated, using a default theme such as Twenty Elven, taking notes of any errors which occur. Then activate the theme you intend to use, and any other plugins, one at a time, to check for any theme/plugin incompatibilities and only enable the theme network-wide once you have fixed all issues with the plugin.
Once installed, plugins can be:
- Activated and deactivated on a per-site basis inside the dashboard via the Plugins page in the Site Admin dashboard
- Network Activated or Network Deactivated via the Plugins page in the Network Admin dashboard.
Manually installing plugins using FTP
It is good practice to backup your install completely before installing new plugins.
You install plugins using FTP as follows:
1. Download the plugin.
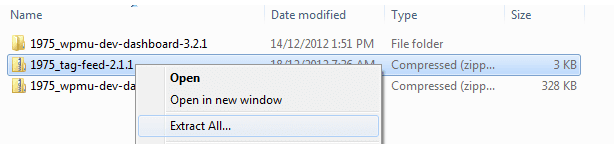
2. Unzip the file to extract all of the files into a folder on your hard drive.
3. Read the Usage instructions thoroughly. Some plugins involve uploading PHP files and folders to a range of different locations.
- Plugins obtained from sources such as the WordPress Plugins Directory normally include a “readme” file inside the plugin folder. Read the “readme” file thoroughly.
- Check the website where you downloaded the plugin from for any additional instructions.
4. Launch FileZilla (refer to these instructions if you are new to FTP).
5. Locate and open the folder on your computer that contains the new plugin.
6. Refer to the “Readme’ file or plugin documentation to determine which folder(s) to upload your plugin to on your install.
- Most plugins are uploaded to your plugins folder (located within the wp-content folder of your public_html folder)
- However, some plugins involve uploading PHP files and folders to a range of different locations.
7. Upload the plugin from your computer, by dragging it into the folder(s) in your WordPress directory as specified by the “Readme’ file or plugin documentation.
Originally published on WPMU DEV and written by Michelle Shull | Last updated: November 15, 2016