
The Package Migration module creates a zip file of your WordPress website, Multisite network, or subsite for manually moving to a new location.
The Package Migration option has two menu items:
- Package
- Settings
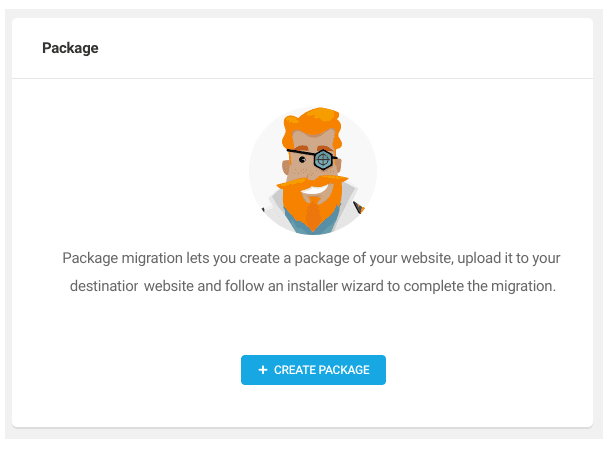
Package
When visiting the Package menu option for the first time, click Create Packageto open the Shipper Package wizard module.
From the Create Package module, you can use the default name or create a custom package name in the Package Name field.
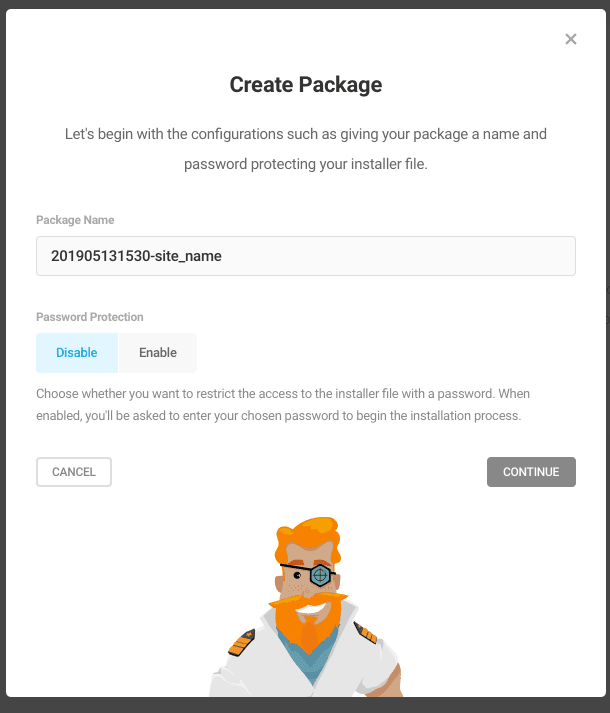
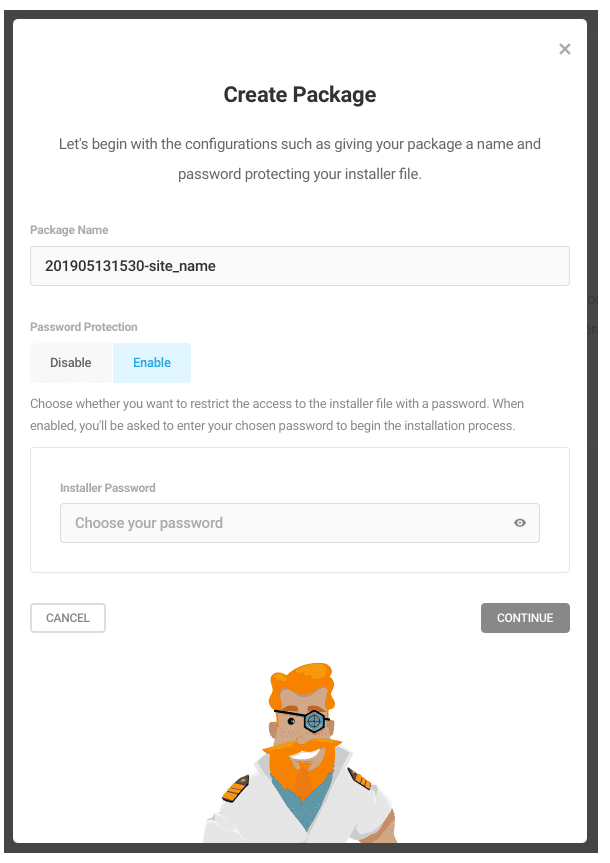
Choose whether you want to restrict access to the installer file with a password. When enabled, you’ll be asked to enter your chosen password into the Installer Password field before beginning the packing process. Click Continue to advance to the next step.
By default, the package includes your entire website. However, if you don’t want to migrate any specific files, folders, or database tables, you can use the Filter Exclusion Field to exclude them from the package. Learn more about filter exclusion rules under Migration Filters in the Export section.

Click Build Package to run your pre-flight check and automatically begin building your site archive.

Keep this modal open during the build process. This may take anywhere from a few seconds to a couple of minutes, depending on the size of your site.

Ready to Migrate
Once your package is finished you will be given instructions for downloading and migrating your site.

- Download package archive and installer – The first step is to download both the archive ZIP file and the installer.php file. You’ll need both of these to complete the migration. Click the provided icons to download both files.
- Upload both files to your destination server – The next step is to upload both the package archive and installer files to the root directory of your destination server. We recommend uploading them via SFTP using an FTP client such as FileZilla. You’ll need an FTP account to connect to your destination server, and if you are not sure how to create an FTP account, please contact your hosting support.
- Visit installer.php on your destination server and follow the instructions – Once you’ve uploaded both the archive and installer files to your new server, visit the installer.php in your browser. To do this, open up your web browser and type in your new website domain along with /installer.php. i.e., https://example.com/installer.php. Follow the instructions on the installer wizard to complete the migration.
Additional Details about the package size can be accessed by using the arrow to spin open more information about the package, including:
- Package Name
- Date the package was created
- Size of the package
- File exclusions (if any)
- Database Exclusions (if any)
- Advanced Exclusions (if any)
- If the package is password protected

You can also Delete the file or jump to the logs by clicking the View Logs button.
Use the New Package button if you would like to rebuild the package before migrating the site.
Settings
Storage Directory
The storage directory settings allow you to configure your package storage location as per your need.
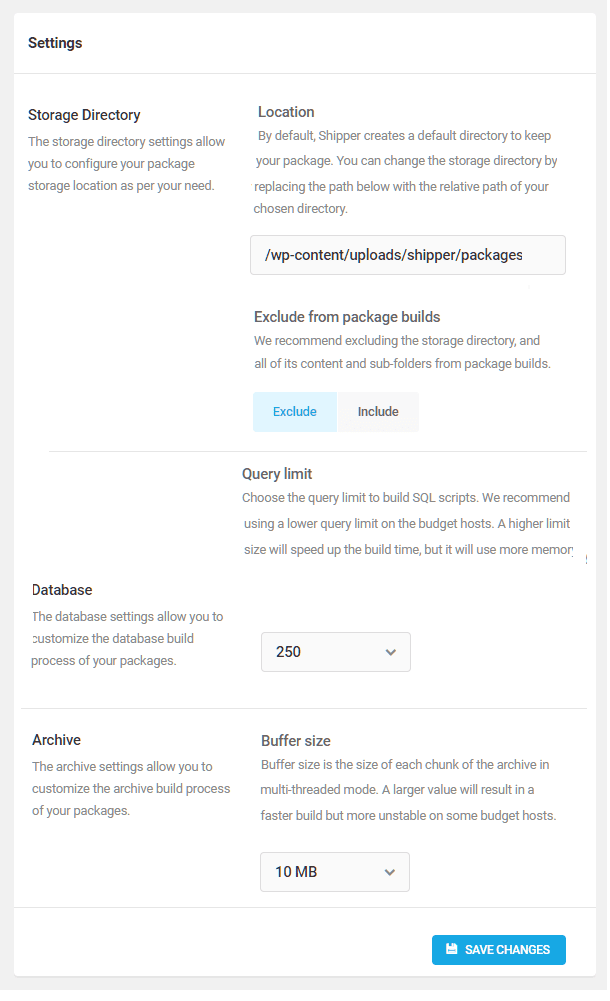
By default, Shipper creates a default directory to keep your package. You can change the storage directory by replacing the path in the location field.
Exclude from package build
Recommended: This setting excludes the storage directory, and all of its content and sub-folders from package builds.
Database
The database settings allow you to customize the database build process of your packages.
Choose the query limit to build SQL scripts. It is recommended you use a lower query limit on a shared or budget host. A higher limit size will speed up the build time, but it will use more memory.
Archive
The archive setting allows you to customize the buffer size for the build process of your packages.
Buffer size is the size of each chunk of the archive in multi-threaded mode. A larger value will result in a faster build but is less stable on some shared or budget host providers.
After making changes be sure and click Save Changes.
Multisite
Shipper allows you to package your entire Multisite network or just a subsite for migration to a single site install.
Whole Network
Choosing the Whole Network works the same as a single site package.
Subsite Only
When choosing subsite only, you will be required to select the specific subsite to package. Once you’ve selected the subsite you would like to use, the rest of the settings are the same as a single site package.
Migration Wizard
When loading a package to a new site, the package wizard will guide you through the process.
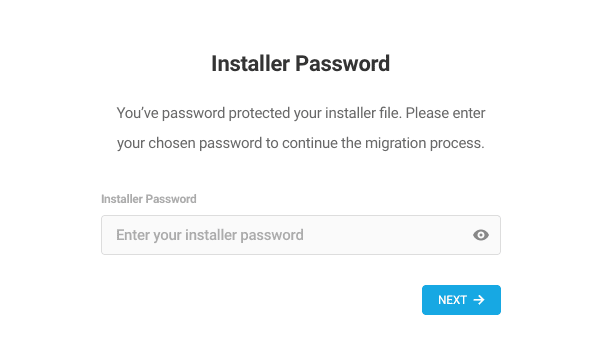
- Installer Password – If a password was added when building the package you will be required to enter the password to move forward. The package password is listed under the Additional Details section when the site was packaged. Click next to proceed.
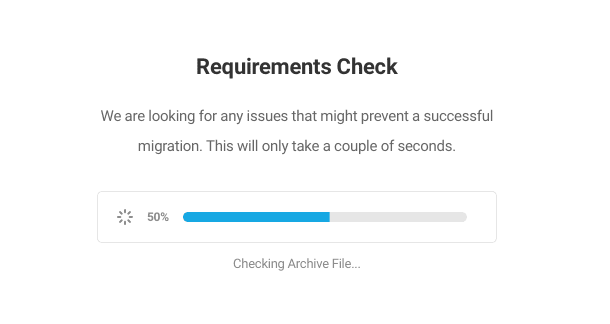
2. Requirements Check – The Shipper installer will run a check to ensure the new server meets the requirements to unpackage the site.
3. Database Connection – It is recommended that you create a new database when migrating your site. Click the Test Connection & Deploy button to proceed to connect to create a new database. If you choose to connect to an existing database you will need to enter the following information:
- Database host name
- Port
- Database name
- Database username
- Database password
- Database prefix
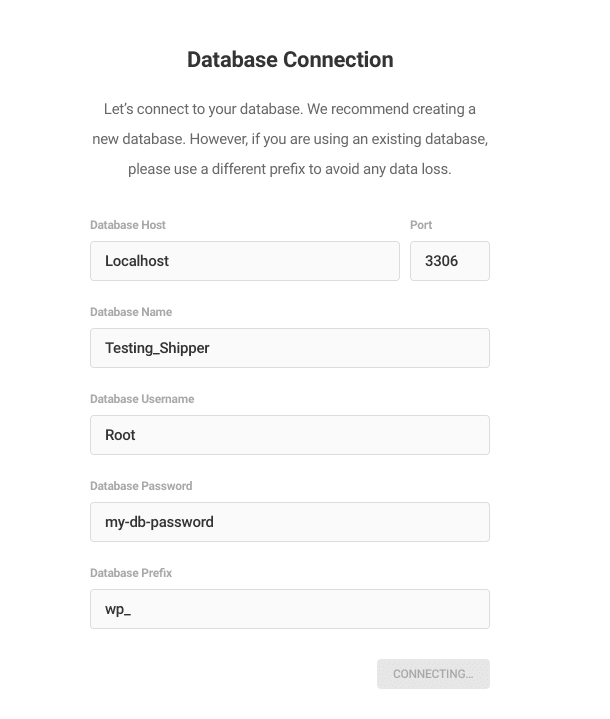
Where these details are located will vary from host-to-host. Contact your hosting provider if you need assistance finding information about your database connection.
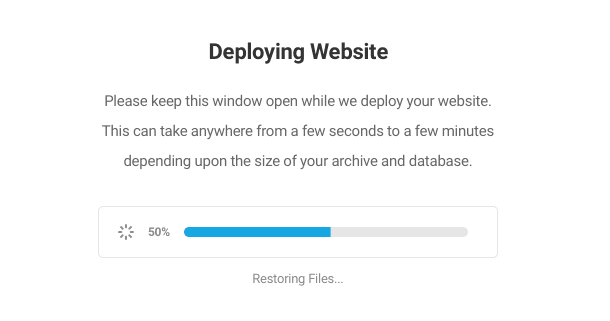
- Deploy Website – A progress bar will appear while the site files are unpackaged and the database is installed. You will need to keep the browser window open while this process completes. This can take some time depending on size.
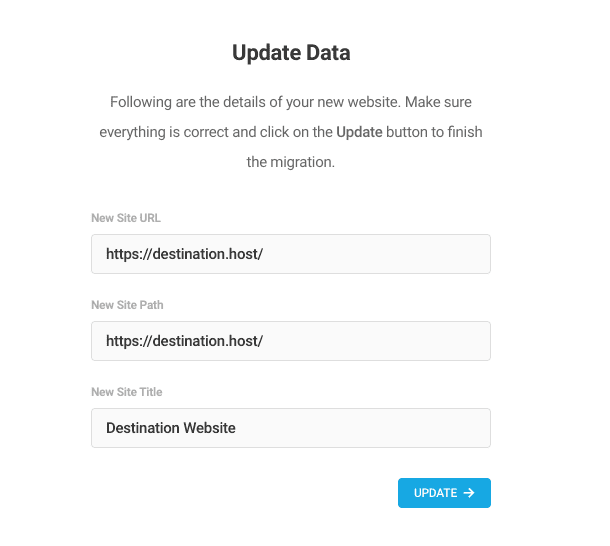
5. Update Data – By default, the site URL, site path, and site title included in the package will be used. You can customize them here.
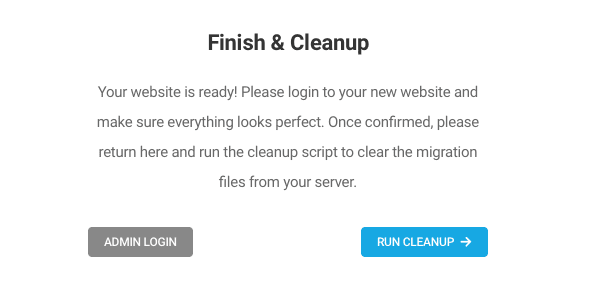
6. Finish & Cleanup – Use the Admin Login button to check your site. If the migration looks successful, use the Run Cleanup button to remove the installer files. It is highly recommended that you remove installer files as soon as the migration is complete and verified because they contain sensitive information.
Hope this helps! Let us know if you need anything else 🙂